A step-by-step walkthrough of what happens after you purchase the Ship Template. Accept your GitHub invitation, create your own copy of the template, clone it to your computer, and run it locally — all explained in plain English.
You just purchased the Ship Template. Congratulations — you now have access to a production-ready application template that would take months to build from scratch. This guide walks you through every step to get the code on your computer and running in your browser.
No development experience required. Every step is explained in plain English.
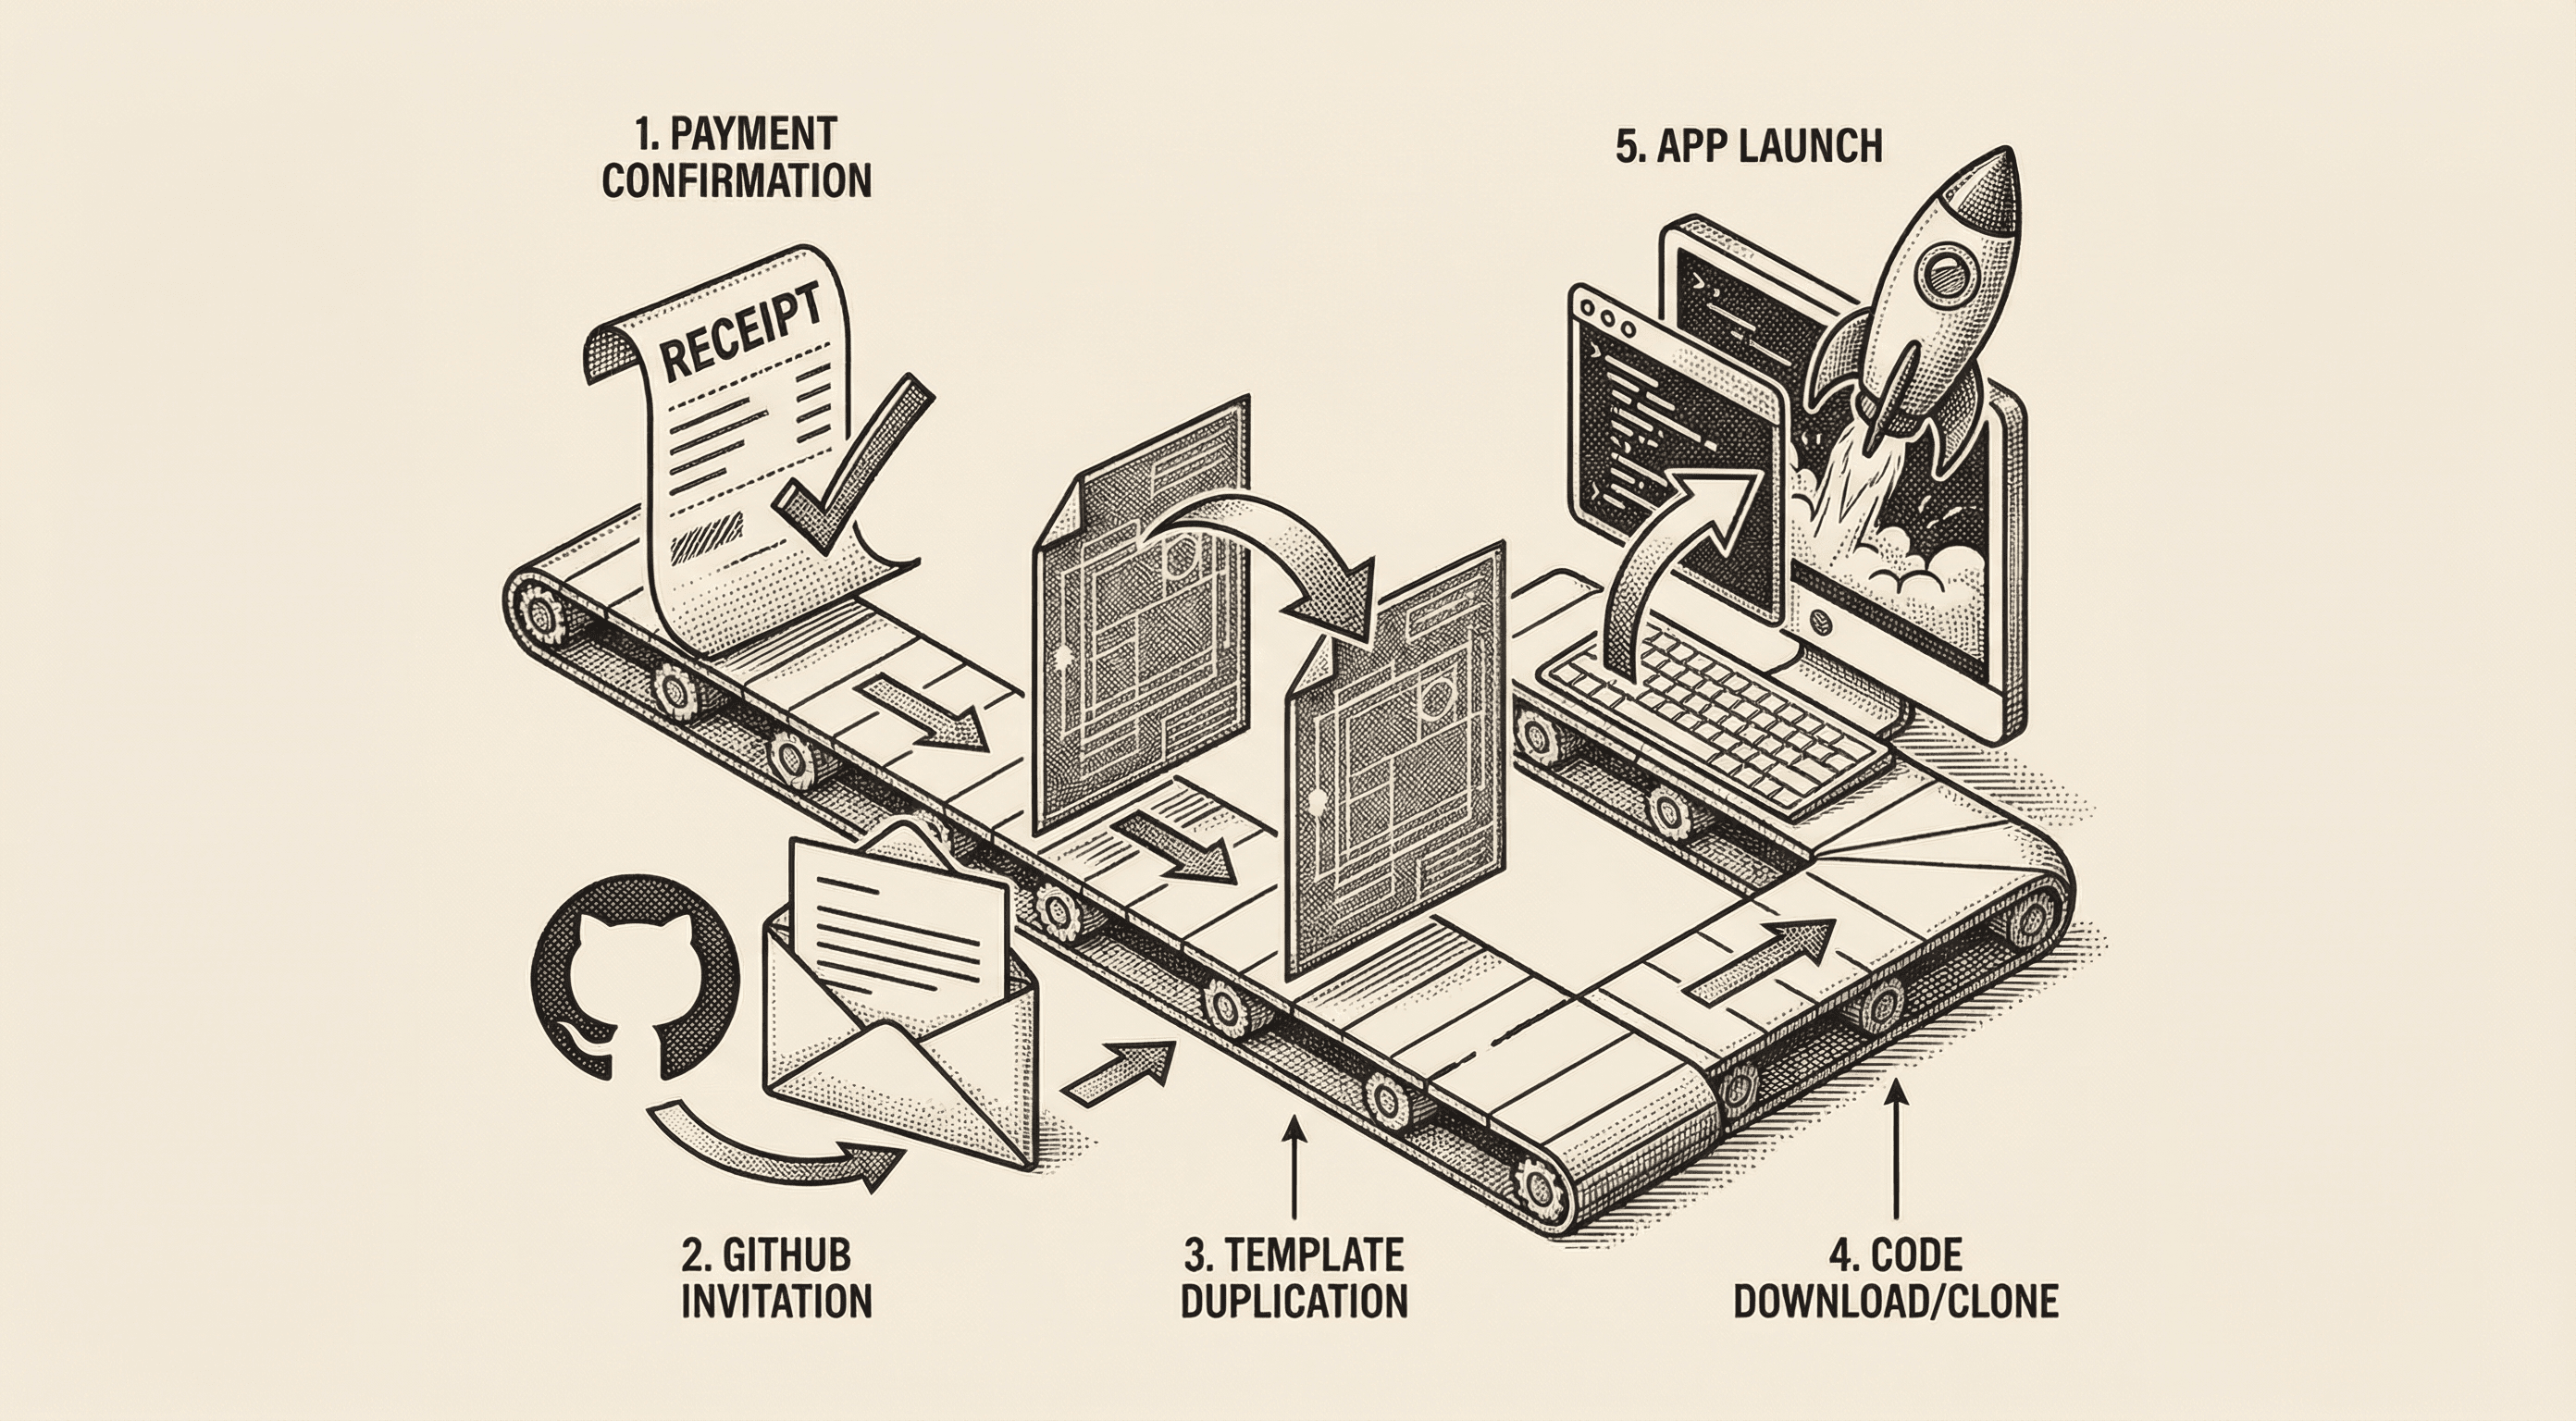
Here is what you are about to do, in five steps:
The whole process takes about 15 minutes. Let us walk through each step.
GitHub is where your code lives on the internet. If you already have a GitHub account, skip to Step 2.
That is it. You now have a place to store and manage your code online.
Why GitHub? GitHub is not just storage — it is also how your application gets deployed (put on the internet for real users). Services like Vercel connect to your GitHub account and automatically update your live website whenever you make changes to your code. More on that in a future guide.
After your purchase, we send you an invitation to access the template code on GitHub. Here is how to find and accept it:
If you do not see the email:
Once you accept, you will see the template repository page. You now have access to the code.
This is the most important step. You are not going to work directly in the template repository — that belongs to us and is shared with all customers. Instead, you are going to create your own personal copy that belongs entirely to you. This is called "forking."
GitHub will spend a few seconds creating your copy. When it is done, you will be on your brand new repository page. Notice the URL — it says github.com/your-username/your-project-name. This is yours. You own it. You can do anything you want with it.
What just happened? You created an independent copy of the template under your own GitHub account. Any changes you make go to your copy — the original template is not affected. Think of it like photocopying a book: the original stays on the shelf, and you can write all over your copy.
Now you need to get the code from GitHub onto your computer so you can work with it. This is called "cloning."
Before you clone, make sure you have these tools installed:
git --version in your terminal. If it is not installed, your Mac will prompt you to install it. On Windows, download from git-scm.com.If you need help with any of these, read our guide: Setting Up Your Development Environment.
To clone your repository:
https://github.com/your-username/your-project-name.git)cd ~/Desktop
git clone https://github.com/your-username/your-project-name.git
Replace the URL with the one you copied from GitHub.
cd your-project-name
You now have the complete template codebase on your computer.
Almost there. Three quick commands and your application will be running.
Install all the tools your project needs:
npm install
This reads a list of requirements and downloads everything automatically. It may take a minute or two the first time. You will see a progress indicator.
Set up your configuration file:
cp .env.example .env.local
This creates a local settings file for your application. You will customize it later when you connect services like your database and payment processor, but the defaults are enough to get started.
Start your application:
npm run dev
Now open your web browser and go to:
You should see your application running — a welcome page with your template ready to customize. This is running on your own computer, not on the internet. Only you can see it.
When your application starts, you will see a welcome page. This is the template in "getting started" mode. It includes:
/admin, where you can manage your application/docs, with guides for every featureEverything you see is customizable. The colors, the text, the layout, the features — it is all yours to change.
You have your code running. There are two paths forward, depending on how you want to build.
If you used PRD Maker or wrote your own product plan, drop it into your project:
PRODUCT.mdREADME.mdYou do not need to know any technical commands. The PRD tells the assistant what to build. You guide the order and make decisions along the way.
Other things you can say to get started:
If you do not have a plan yet — or you prefer to figure it out as you build — that works too. The template is designed for this. Just start telling the AI what you want:
The assistant will build what you ask for and will start filling in a product brief (PRODUCT.md) as you go, capturing your decisions so it stays consistent across sessions.
/admin/brand to upload your own logo and favicon/admin to see user management, analytics, and settings/docs for detailed guides on authentication, payments, and more.env.local. See /docs → Voice Agents for the full guideThere is no rush. The template works out of the box with sensible defaults. You can start customizing immediately or take time to explore first.
Your purchase gives you lifetime access to the Ship Template. You can create as many projects as you want from it — there is no limit.
To start a new project, go back to the template repository on GitHub:
github.com/sincerelyjorge/ship-template
Click "Use this template" again, give your new project a name, and follow the same clone-and-install steps from earlier in this guide. Each new project starts fresh with the latest version of the template.
If we have released updates since your last project, your new project will include those updates automatically. Your existing projects are not affected — they stay exactly as you left them.
"I did not receive the GitHub invitation email" Check your spam folder. Make sure the email address you gave us matches your GitHub account email. Contact us at theteam@shipsomething.com if you need the invitation resent.
"I do not see the 'Use this template' button" Make sure you have accepted the GitHub invitation first (Step 2). If you accepted but still do not see the button, try refreshing the page or logging out and back into GitHub.
"npm install gives me errors"
Make sure you have Node.js version 20 or newer. Check with node --version. If your version is older, download the latest LTS version from nodejs.org.
"npm run dev shows an error"
Make sure you ran cp .env.example .env.local first. The application needs this configuration file to start. If the error mentions a specific missing value, check the .env.example file for instructions on that setting.
"The page does not load in my browser"
Make sure the development server is still running in your terminal (you should see output there). Visit http://localhost:3000 — make sure it is http, not https.
npm install, and start the development server with npm run dev.
Learn how to set up and customize this production-ready SaaS boilerplate to launch your startup in days, not weeks.
Everything you need to install and configure before writing your first line of code — your code editor, terminal, Node.js, and essential tools explained step by step.